Posted on

How to Prepare Artwork for Custom Sticker Printing

How to Prepare Artwork for Custom Sticker Printing

How to Prepare Artwork for Custom Sticker Printing: The Ultimate File Setup Guide (CMYK, Bleeds, and Cut Lines)

If you have ever opened a proof from a print shop and thought “that is not what I designed,” you already know why file setup matters so much. Stickers are unforgiving. A tiny mistake in color mode, resolution, or bleed can turn a crisp logo into a blurry mess or a clean die cut into something with a stray white edge.

The good news is that once you understand a handful of print rules, you can set up artwork correctly every single time. This guide walks through everything our team at Rogue Stickers looks for when we review a customer file, so you can catch problems before you ever hit submit.

Vector Versus Raster: Know What You Are Working With

Every image file falls into one of two categories.

Vector files are built from mathematical paths rather than pixels. Programs like Adobe Illustrator, Affinity Designer, and Inkscape create vector files (usually saved as .ai, .eps, or .svg). Because vectors are math, not pixels, they can be scaled up or down to any size with zero loss in quality. This is why print shops love vector logos and text. If your design is mostly typography, icons, or flat illustration, vector is almost always the better format.

Raster files are made of pixels, like photographs. Formats such as .jpg, .png, and .psd are raster. Raster art can look great, but only if it starts at a high enough resolution. If you enlarge a small raster image, you are stretching a fixed number of pixels, and the result gets soft or blocky.

A common mistake we see is a customer pulling a logo off their own website. Web graphics are almost always low resolution raster files sized for screens, not print, and they fall apart the moment they are enlarged for a three inch sticker. If you only have a web logo, ask the original designer for the vector source file before you order.

Resolution: Why 300 DPI Is the Standard

If your artwork is raster based, resolution is everything. The print industry standard is 300 DPI (dots per inch) at the final, actual output size of your sticker.

This part trips people up constantly: DPI only means something in relation to physical size. A file that is 300 DPI at 2 inches by 2 inches is not the same file once you stretch it to 6 inches by 6 inches. If you resize the canvas without adding real pixel information, the effective resolution drops and the print will look blurry or pixelated.

A quick way to check this in Photoshop is to go to Image, then Image Size, and look at the resolution field alongside the document dimensions. If you are designing a 4 inch sticker, make sure the document is set to 4 inches at 300 DPI from the very start, not scaled up afterward.

Color Mode: RGB Versus CMYK

Screens and printers speak two different color languages, and this is one of the biggest sources of “why does my printed sticker look different than my screen” complaints.

Your monitor displays color using RGB, which stands for red, green, and blue light. RGB can produce extremely bright, glowing colors, especially neons and vivid blues, because it is generating color with light itself.

Commercial printers, including the equipment used for custom stickers, build color using CMYK, which stands for cyan, magenta, yellow, and black ink. CMYK has a smaller range of achievable colors than RGB, particularly in the neon and deep blue range. When an RGB file gets converted to CMYK for print, colors can shift and appear slightly duller or different than what you saw on screen.

The fix is simple: convert your file to CMYK yourself before you export it, rather than letting the printer’s software make that decision at the last minute. In Illustrator or Photoshop, this is done under File, then Document Color Mode, or File, then Convert to Profile. Reviewing your design in CMYK ahead of time means no surprises when the proof arrives.

Bleed, Cut Lines, and Safe Margins

This is the part that separates a professional file from an amateur one, and it is where die cut stickers most often go wrong.

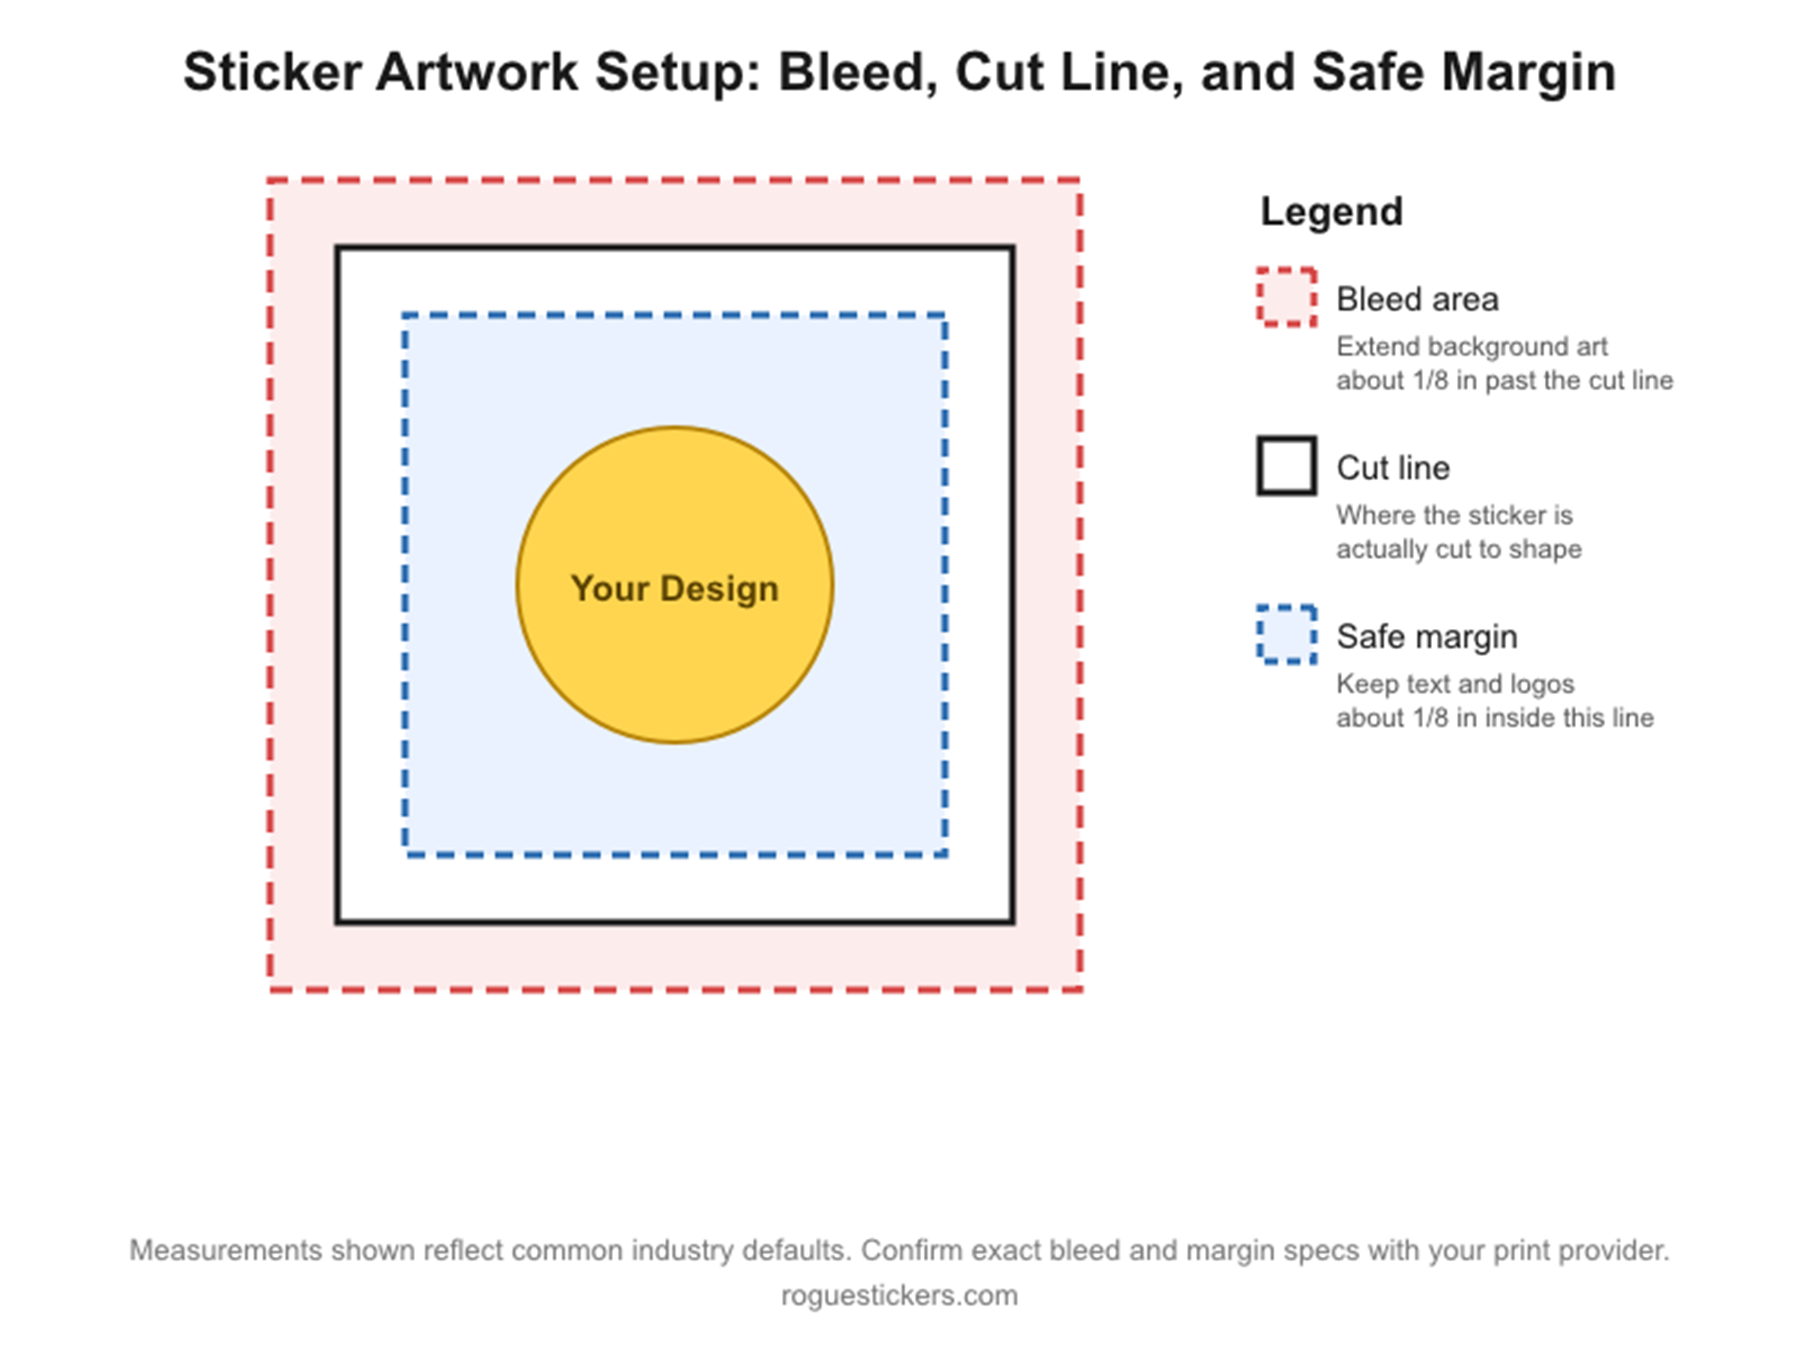
Bleed is extra artwork that extends past the edge of where your sticker will actually be cut. Because cutting machines have a small margin of physical movement, if your background color or image stops exactly at the cut line, even a slight shift can leave a thin white sliver along the edge. Extending your background by roughly one eighth of an inch beyond the cut line, a standard bleed allowance used across the printing industry, gives the machine room to cut without exposing white paper. As always with a specific vendor’s requirements, it is worth confirming the exact bleed measurement Rogue Stickers requests for your particular sticker shape on our artwork guidelines page.

The cut line marks exactly where your sticker’s final shape will be cut. For custom die cut stickers that follow the outline of your design, this line traces the contour of your artwork.

The safe margin is an inner boundary, typically kept about one eighth of an inch inside the cut line, where you should keep all important text, logos, and details. Anything placed right at the cut line risks being trimmed off if the cut shifts even slightly.

Picture three nested outlines: the outer one is your bleed, the middle one is the actual cut line, and the inner one is your safe zone for text and important graphics. Keeping this structure in mind while you design will save you from misaligned or clipped prints.

Common Mistakes That Lead to Blurry Prints or Bad Cuts

  • Pulling a logo from a website instead of requesting the original vector file
  • Designing at a small size and scaling up later instead of building at final print size from the start
  • Leaving text or logos too close to the edge with no safe margin
  • Forgetting bleed entirely, which is the number one cause of white edges on die cut stickers
  • Exporting in RGB and being surprised when printed colors look different than the screen
  • Flattening a file with a transparent background into a white background by accident, especially common when exporting PNGs from certain design tools

Templates to Get You Started

Working from a template built to the correct dimensions is the easiest way to avoid all of the mistakes above. We recommend starting with a template sized in Illustrator, Photoshop, or Canva that already includes bleed, cut line, and safe margin guides for your chosen sticker shape and size. If you are not sure which starting point fits your project, our team can point you to the right one, or you can browse current options directly at Rogue Stickers before you upload your file.

Before You Upload

Run through this short checklist:

  1. Is your file vector, or if raster, is it at least 300 DPI at final size?
  2. Is your document set up in CMYK?
  3. Does your background extend into the bleed area?
  4. Is important text or artwork kept inside the safe margin?
  5. Does your cut line match the shape you actually want?

Getting these five things right before you upload means fewer rounds of proofing, a faster turnaround, and a sticker that actually matches what you designed. If you run into anything unclear along the way, reach out to our team at Rogue Stickers and we are happy to look over your file before it goes to print.

A note on accuracy: bleed and margin figures above reflect standard practice across the sticker printing industry. I was not able to verify Rogue Stickers’ exact current bleed specifications, template downloads, or page URLs from the information available to me, so please confirm those specific numbers and links with your prepress or production team before publishing this post, and swap in the real template and guidelines URLs once confirmed.

Read our sticker artwork preparation guide and proofing FAQ. For questions about a specific application, contact Rogue Stickers before ordering.
Posted on

Choosing a Custom Sticker Printer in Austin

Choosing a custom sticker printer in Austin starts with your artwork and where the stickers will be used. Compare the ordering process, materials, proofing and timing so the product fits the job rather than choosing on a headline alone.

Match the product to the application

Business logo giveaways, packaging labels, event handouts and transfer decals do different jobs. Explain the surface, size, environment and expected handling. A sticker intended for a smooth package may not suit a textured cooler or a compound vehicle curve.

Compare proofing and artwork support

Ask what the proof shows and when approval is needed. At Rogue Stickers, customers review a digital proof before printing. Check the design version, dimensions, spelling, cut shape, border and artwork placement. Important corrections belong before approval, not after production.

Check the total at your quantity

Compare like for like sizes, materials and finishes. The minimum is 50 stickers per item unless the product page lists a higher minimum. Quantity pricing can change the unit price, so review the total for the number you actually need.

Be clear about deadlines

Proofing, production and carrier transit are separate stages. Ask whether your deadline is realistic before ordering, and do not treat a shipping estimate as a guaranteed arrival date. Delayed approval or artwork changes can affect the schedule.

Know who to contact

Rogue Stickers is based at 2307 Thornton Rd, Unit 201, Austin, Texas 78704. Contact our team at info@roguestickers.com for artwork, product and order questions. Confirm any collection arrangements before visiting.

Start with a specific question

Bring your artwork, approximate dimensions, quantity, intended surface and deadline. That gives the print team useful information to assess the project. Compare custom sticker styles, read our ordering FAQ, or contact Rogue Stickers.

Compare sticker styles and materials and read our surface preparation guide. For questions about a specific application, contact Rogue Stickers before ordering.
Posted on

The Ultimate Guide to Custom Stickers in 2026: What to Know Before You Order

Stickers have never been more popular — or more powerful. Whether you’re a small business owner looking to boost brand recognition, an artist turning your designs into merchandise, or just someone who wants to personalize their gear, custom stickers are one of the most cost-effective and versatile tools at your disposal.

At Rogue Stickers, we’re an Austin, Texas print shop dedicated to producing high-quality custom stickers with precision die-cut designs, fast turnaround, and free shipping nationwide. Everything we make is produced right here in Texas — and in this guide, we’re breaking down everything you need to know to make your next sticker order a success.


What Are Custom Stickers, and Why Do They Matter?

Custom stickers are adhesive-backed graphics printed and cut to your unique design. They range from simple circle stickers to complex character die-cuts, and they serve an enormous variety of purposes: branding, marketing, decoration, gifting, packaging, and personal expression.

In 2026, the custom sticker market is booming. Driven by a surge in e-commerce, creator economy growth, and the enduring power of tactile marketing, businesses and individuals alike are ordering more stickers than ever before. The self-adhesive label and sticker market is projected to reach $57 billion globally by 2026 — and that momentum is showing no signs of slowing down.

The bottom line: stickers are small, but their impact is anything but.


Types of Custom Stickers (And When to Use Each One)

Choosing the right sticker type for your project makes a huge difference in how your final product looks and performs. Here’s a breakdown of the most popular options:

1. Die-Cut Stickers

Die-cut stickers are cut precisely to the outline of your design — no square or circle background, just the shape of your artwork. They look polished, professional, and eye-catching. These are ideal for logos, mascots, and any design where you want the sticker to feel like a true piece of art rather than a label.

At Rogue Stickers, every die-cut is crafted with meticulous attention to detail. You’ll receive a digital proof before anything goes to print, so you know exactly what you’re getting.

2. Circle & Square Stickers

Classic vinyl circle and square stickers are workhorses. Made from high-quality 6mil vinyl, they’re perfect for product labels, promotional giveaways, and simple branding. Their uniform shape makes them easy to apply and stack.

3. Bumper Stickers

Want maximum visibility? Our bumper stickers are made from Oracal 4mil removable vinyl, designed to look great on vehicles without damaging the paint when removed. They’re available in standard sizes and require a minimum order of 50 units — ideal for organizations, campaigns, bands, and businesses.

4. Clear Stickers

Clear stickers give your design a “floating” look — no white background, just your artwork on a transparent film. They’re available in circles, squares, and custom die-cuts, making them a sleek, professional option for product packaging and branding.

5. Kiss-Cut Sticker Sheets

Kiss-cut stickers are individually cut on a larger sheet of vinyl — so the sticker peels off easily while the sheet stays intact. Printed on premium 4mil Oracal Vinyl, these sheets are fun to collect, easy to distribute, and perfect for promotional giveaways or building a fanbase.

6. Die-Cut Transfer Stickers

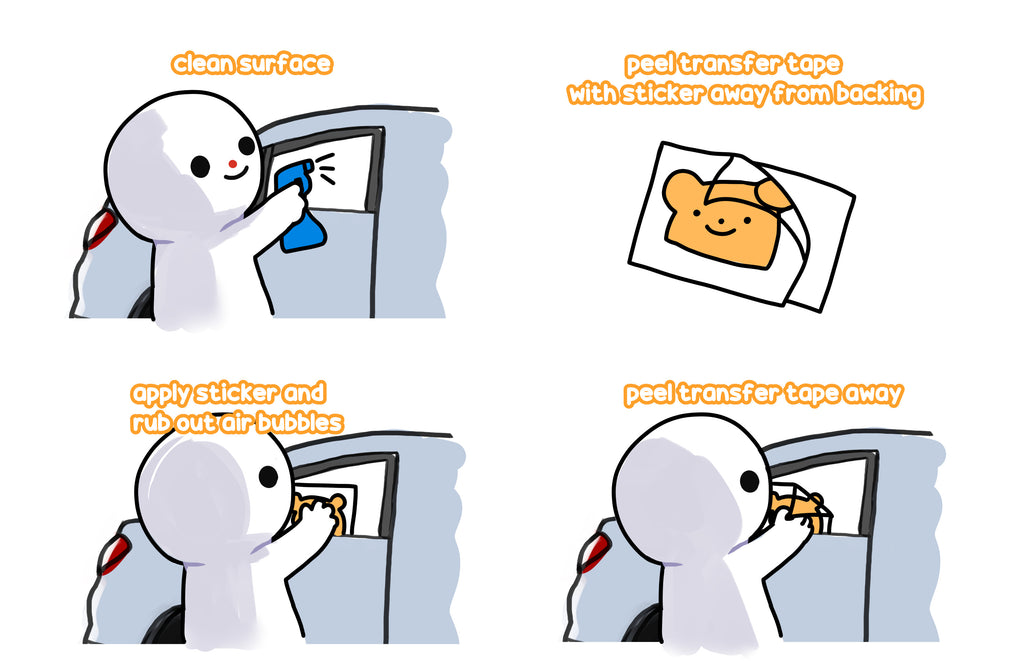
Our full-color die-cut transfer stickers are made from 3mil Oracal colored vinyl and cut precisely to your design. They’re great for vehicle decals, windows, and smooth surfaces where you want a clean, seamless look. Application is simple: peel, place, rub, remove the masking layer.

7. Character Die-Cuts

A Rogue Stickers exclusive — turn yourself, your friends, your team, or your mascot into a collectible, shareable die-cut sticker. These are wildly popular for events, merch drops, and social media marketing.


What Makes a Great Sticker? (Material & Durability)

Not all stickers are created equal. Here’s what separates a quality sticker from one that fades, peels, or cracks within weeks:

Vinyl construction is the gold standard for durability. Vinyl stickers are waterproof, UV-resistant, and built to last on outdoor surfaces like water bottles, cars, and outdoor signage.

Eco Solvent ink — which Rogue Stickers uses — is known for its longevity and weather resistance. It bonds deeply into the vinyl substrate, producing colors that stay vivid even after extended outdoor exposure.

Thickness matters. Our stickers range from 3mil to 6mil vinyl depending on the product type, giving you the right balance of flexibility and durability for your use case.

The result? Stickers that are tough, weather-proof, and built to represent your brand for the long haul.


2026 Custom Sticker Trends to Know

The sticker industry moves fast. Here are the biggest design and material trends shaping 2026:

Holographic & Iridescent Finishes — Prismatic, color-shifting stickers have exploded in popularity. Holographic die-cuts are especially hot for limited-edition product drops and premium merch.

Y2K Nostalgia — Retro aesthetics inspired by the early 2000s — chunky fonts, holographic hearts, pixel art — are having a major moment across every category.

Minimalist & Clean Design — After years of visual overload, consumers are gravitating toward simple serif fonts, white space, and calm, purposeful layouts. Clean doesn’t mean boring; it means confident.

Bold Maximalism — Simultaneously, bold colors, neon grunge, and punk-inspired designs are making a statement. Stickers are one of the first places counterculture shows up.

Character-Led Branding — Mascots, illustrated characters, and brand personalities are increasingly being turned into collectible sticker series — a powerful way to build community around your brand.

Eco-Conscious Materials — Sustainability is no longer optional. Consumers — especially millennials and Gen Z — actively seek out brands that make environmentally responsible choices, including in their packaging and promotional materials.

Whatever style you’re going for, Rogue Stickers can bring your vision to life.


How to Order Custom Stickers: A Step-by-Step Overview

Ordering from Rogue Stickers is straightforward:

  1. Choose your sticker type — die-cut, circle, bumper, clear, kiss-cut, transfer, or character.
  2. Submit your design — Upload your artwork directly to our website.
  3. Receive your online proof — We’ll send you a digital proof before printing so you can approve the design or request changes.
  4. We print & ship — Once approved, we get your stickers printed and shipped at warp speed — with free shipping nationwide.

No hidden fees. No surprises. Just great stickers, fast.


Tips for Designing Your Custom Sticker

Want to get the most out of your order? Keep these design best practices in mind:

  • Use vector files when possible. SVG, AI, or EPS files scale infinitely without losing quality. If you only have a raster image, we offer vectorization services.
  • Leave bleed space. Add a small buffer around your design’s edges to account for minor cutting variation.
  • For sticker sheets: Each sticker should be at least 1″ in size and spaced 0.5″ apart for clean kiss-cutting.
  • Consider your surface. Bumper stickers and transfer decals behave differently than standard vinyl. Choose the product type that matches where you’ll be applying it.
  • Keep it readable at size. A great design looks good at thumbnail scale. If your text is too small or detailed, it may not translate well when printed small.

Why Order From Rogue Stickers?

There are plenty of sticker printers out there. Here’s what makes Rogue Stickers different:

✅ Made in America — Everything is printed right here in Austin, Texas.
✅ Precision die-cutting — Your design is cut exactly to spec, every time.
✅ Online proofing — You approve before we print. No guessing.
✅ Fast turnaround — We ship at warp speed.
✅ Free shipping — Nationwide, no minimums on shipping costs.
✅ Eco Solvent ink — Durable, weather-resistant, long-lasting color.

We also offer custom apparel through our sister shop, Satellite Printlab, including embroidery, DTG, and DTF printing — perfect if you want your stickers and merch to match.


Frequently Asked Questions

Are your stickers waterproof?
Yes. Our vinyl stickers are fully waterproof and UV-resistant, making them suitable for outdoor use, water bottles, vehicles, and more.

What’s the minimum order quantity?
Minimums vary by product. Bumper stickers require a minimum of 50; clear stickers require a minimum of 100. Die-cut stickers and most other products have their own minimums listed on the product pages.

Do you ship outside the US?
We currently ship free nationwide across the United States.

Can I see a proof before my order ships?
Absolutely — every order includes an online proof for your approval before we go to print.

What file formats do you accept?
We recommend vector formats (AI, SVG, EPS, PDF) for the sharpest results, but we can also work with high-resolution raster files (PNG or TIFF at 300 DPI or higher).


Ready to Stick Your Brand Everywhere?

Whether you’re ordering 50 bumper stickers for your next campaign or 500 die-cut stickers for a product launch, Rogue Stickers has you covered. Our Austin-based team is ready to turn your design into something people will actually want to put on their stuff.

Browse Our Full Sticker Catalog →
Start Your Custom Order Today →


Rogue Stickers — Custom Stickers, Made in Texas. Fast Shipping. Free Nationwide.

Compare sticker styles and materials and read our surface preparation guide. For questions about a specific application, contact Rogue Stickers before ordering.
Posted on

Why Quality Stickers Matter More Than You Think

Why Quality Stickers Matter More Than You Think

Custom stickers are everywhere on laptops, water bottles, packaging, storefronts, and cars. But not all stickers are created equal. If you’re using cheap, low-quality stickers, you’re not just saving money—you could be hurting your brand.

At Rogue Stickers, we believe your stickers should work as hard as you do.


First Impressions Stick (Literally)

https://customstickers.com/cdn/shop/products/laptopstickercopy.jpg?v=1745608836
https://m.media-amazon.com/images/I/81q2v7Kt6PL._AC_UF350%2C350_QL80_.jpg

Your sticker is often the first interaction someone has with your brand. A high-quality sticker instantly communicates professionalism, durability, and attention to detail.

Low-quality stickers?
They peel, fade, and look cheap—fast.

Why it matters:

  • Crisp print = stronger brand recognition
  • Clean cuts = more professional appearance
  • Premium finish = higher perceived value

👉 A great sticker doesn’t just represent your brand—it elevates it.


Durability That Matches Your Lifestyle


https://m.media-amazon.com/images/I/81mafgMXIbL._AC_UF894%2C1000_QL80_.jpg https://i.etsystatic.com/5291827/r/il/c68a42/790527769/il_1080xN.790527769_hry8.jpg

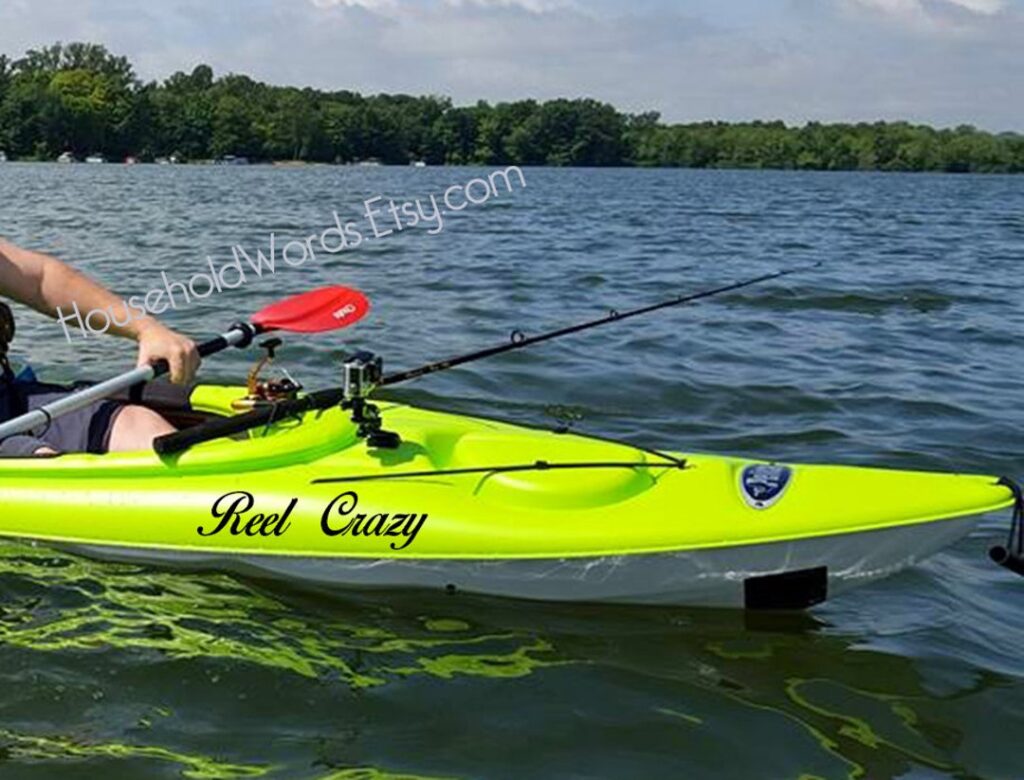
Whether your stickers are hitting the streets, the lake, or your packaging, durability is everything.

High-quality vinyl stickers are built to handle:

  • UV exposure (no fading in the Texas sun)
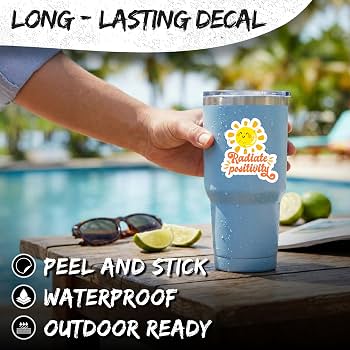
  • Water (perfect for coolers, boats, and bottles)
  • Scratches and wear

Cheap stickers crack, fade, and fall apart—sometimes within days.

Pro tip: If your sticker can’t survive a weekend at the lake, it’s not doing its job.


Strong Adhesion Without the Mess

https://ahhgela.com/cdn/shop/articles/Anime_Decal_Instructions_1_1024x662.jpg?v=1612024788 https://m.media-amazon.com/images/I/61gIKoR7EJL._AC_UF894%2C1000_QL80_.jpg https://dejpknyizje2n.cloudfront.net/blog/extra/72b7b6c5fb604edd8ac930212ad33e34.jpg

A quality sticker sticks where it should—and only where it should.

Premium adhesive means:

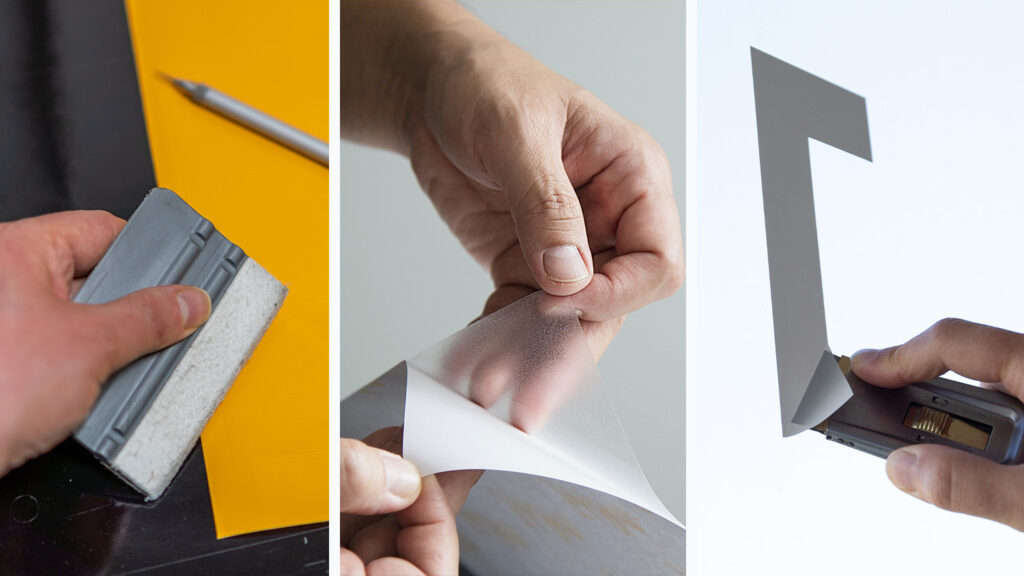
  • Easy application (no bubbles or wrinkles)
  • Strong hold on multiple surfaces
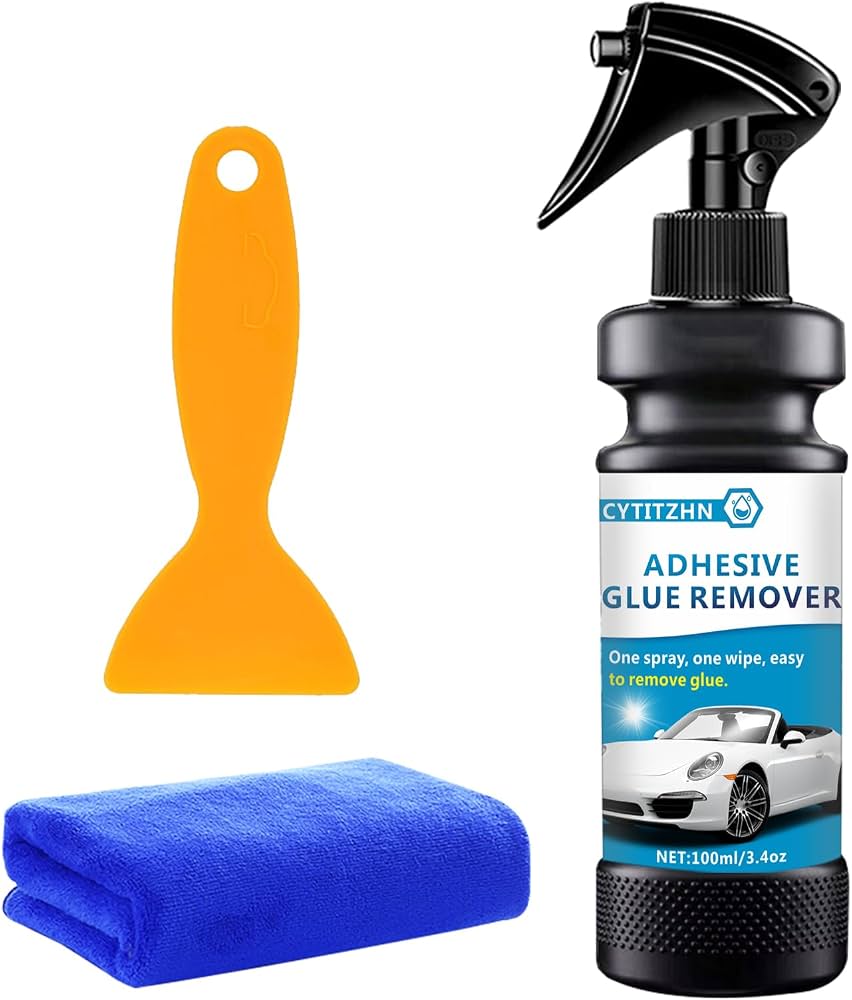
  • Clean removal without sticky residue

This is especially important for:

  • Retail products
  • Promotional giveaways
  • Vehicle decals

Bad adhesive = bad experience. And people remember that.


Better Stickers = Better Marketing


https://m.media-amazon.com/images/I/81gNW3qIAqL._AC_UF894%2C1000_QL80_.jpg https://machinestudio.com/cdn/shop/articles/GuerillaMarketing.jpg?v=1687396763

A great sticker doesn’t just sit there it travels.

People put high-quality stickers on:

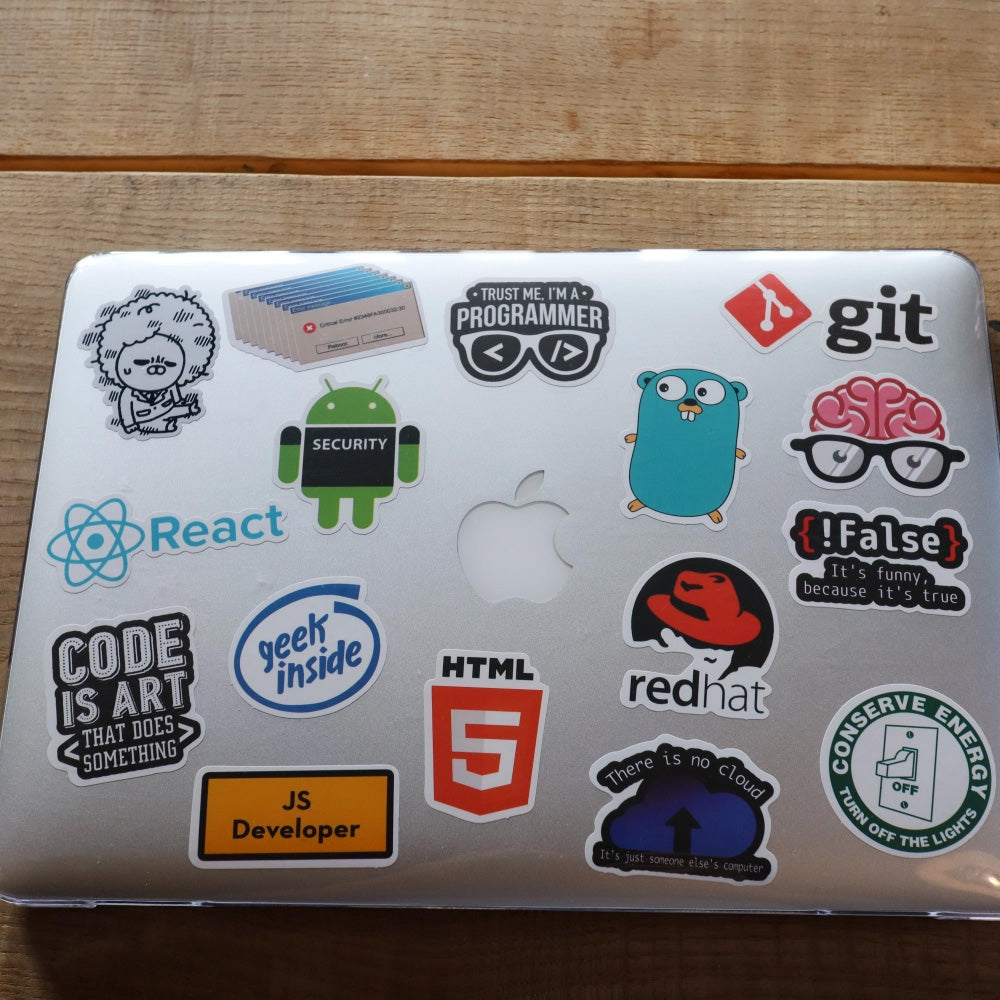
  • Laptops
  • Water bottles
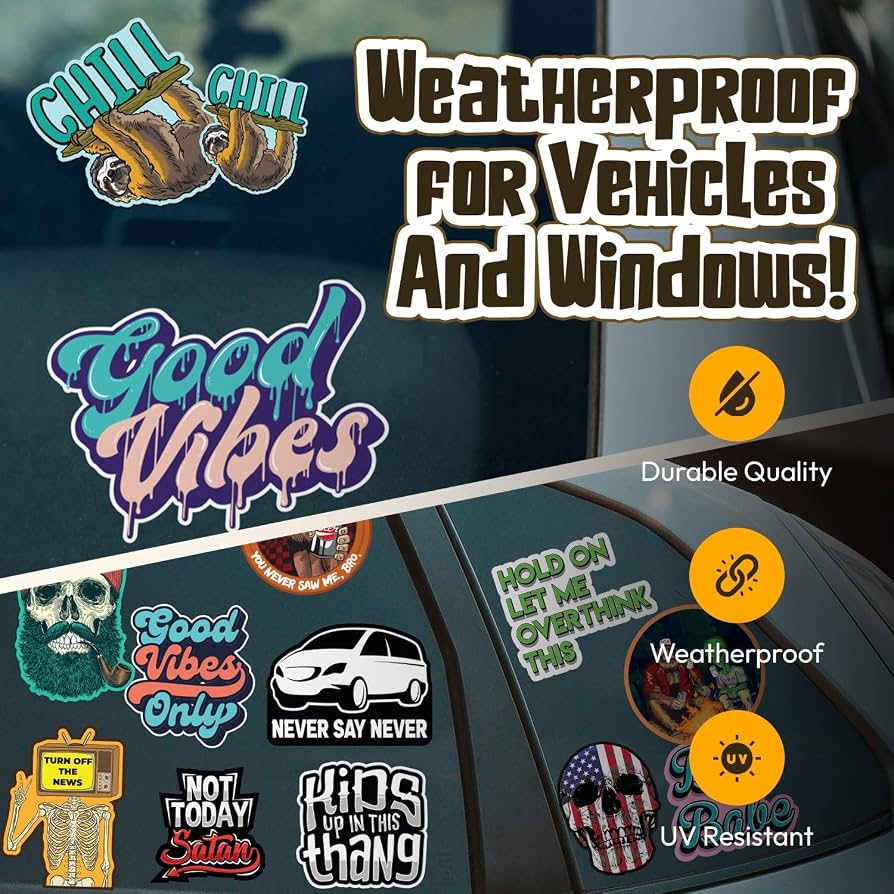
  • Cars
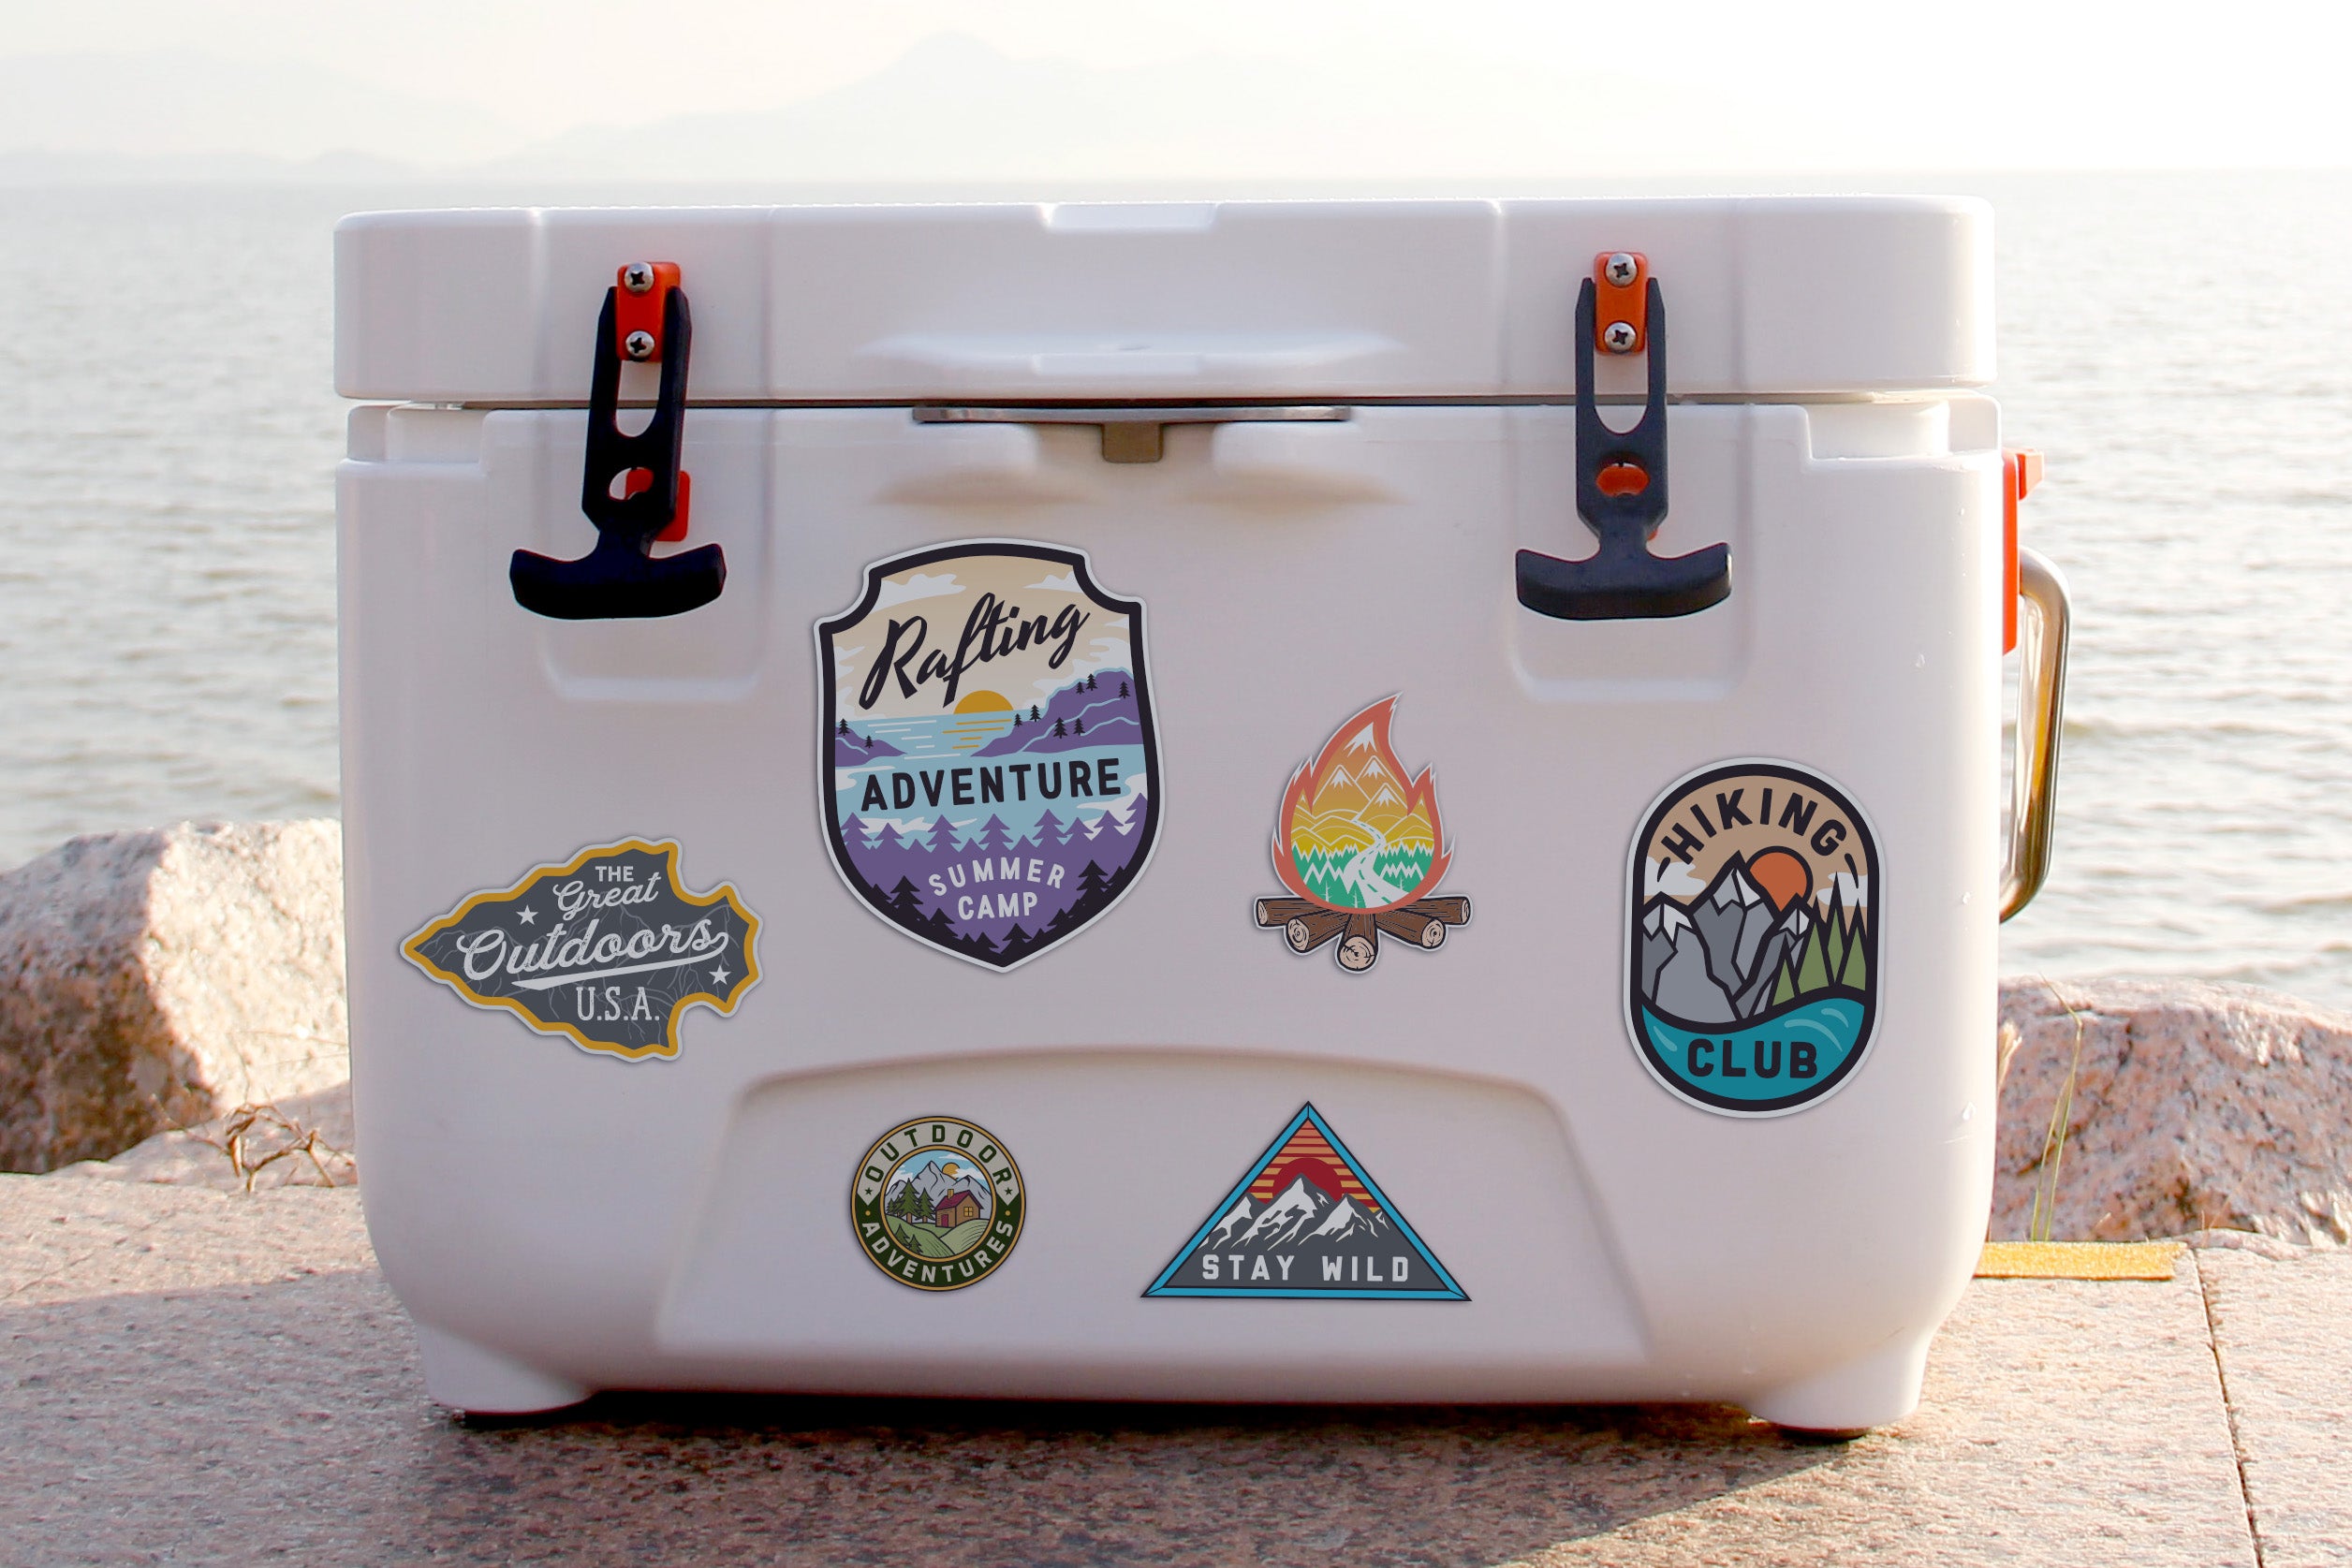
  • Coolers

That turns every customer into a walking billboard for your brand.

Here’s the difference:

  • Cheap sticker → thrown away
  • Quality sticker → kept, shared, and displayed

That’s long-term, organic marketing you don’t have to pay for again.


Precision Die-Cutting Makes All the Difference


https://d2ngzhadqk6uhe.cloudfront.net/samedayru/images/products_gallery_images/same-day-custom-contour-cut-sticker-labels_1732587745895.jpg

Details matter especially when it comes to your logo.

High-quality stickers feature:

  • Exact contour cuts
  • Smooth edges
  • No fraying or misalignment

This ensures your design looks exactly how it was intended.


Why Businesses Choose Rogue Stickers

At RogueStickers.com, we don’t cut corners—we cut clean edges.

We focus on:

  • Premium vinyl materials
  • High-resolution printing
  • Long-lasting durability
  • Clean, professional finishes

Whether you’re a small business, a brand, or just someone who wants their stickers to last, quality makes the difference.


Final Thoughts

A sticker might seem like a small detail but it carries your brand everywhere it goes.

If you want people to take your brand seriously, your stickers need to reflect that.

Invest in quality. It sticks.


Compare sticker styles and materials and read our surface preparation guide. For questions about a specific application, contact Rogue Stickers before ordering.