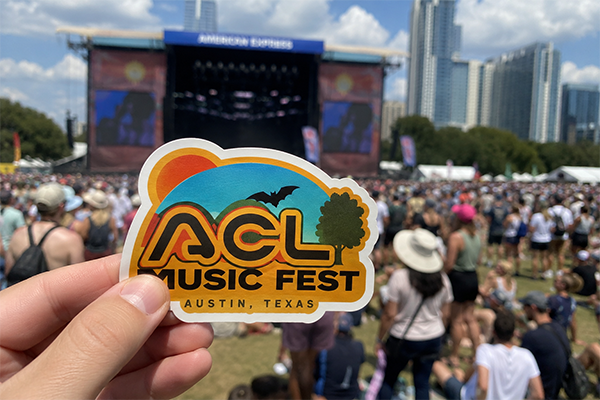
Custom stickers can be practical handouts, packaging inserts and merchandise for Austin festivals and Texas trade shows. Plan around your audience, artwork, distribution rules and deadline rather than assuming every event needs the same sticker.
Confirm the event and production schedule
Use the organizer’s current dates, rules and exhibitor information when planning. Allow time for artwork, proof changes, approval, production and delivery. Contact us before ordering if you have a firm deadline. Rush production, expedited delivery or local collection should only be relied on after our team confirms availability for your order.
Choose a useful format
Die cut stickers suit custom logo outlines. Kiss cut stickers leave backing intact for easier handling. Holographic material adds a reflective effect, while a sticker sheet can hold several designs. Choose based on the artwork and how people will receive and use it.
Set a sensible quantity
The minimum is 50 stickers per item unless the product page lists a higher minimum. Estimate how many attendees you can realistically reach and decide whether the design will be given away, sold or included with a purchase. Check the price at your actual quantity.
Make the artwork readable
Check small text at the printed size. Keep QR codes clear of busy graphics and test the exact file, destination and physical size before printing. A short instruction such as “Scan for the menu” is more useful than an unexplained code. See our QR code sticker guide.
Respect event and venue rules
Give stickers to people who want them. Do not encourage placement on venue property or other people’s belongings without permission. Event names do not imply that Rogue Stickers is an official sponsor, vendor or partner.
Measure what the campaign does
Define a goal before printing. A dedicated landing page or campaign code can help track response, although not every sticker impression is measurable. Avoid assuming a giveaway will deliver a specific return. Compare sticker styles or ask us about your event plan.
Applying vinyl decals sounds easy until you get one crooked, trapped with air bubbles, or stuck halfway before you are ready. The good news is that most vinyl sticker problems come from rushing the install. If you slow down, clean the surface, and use the right method, you can get a smooth decal that looks professional.
Here is a simple step by step guide to applying vinyl decals without bubbles.
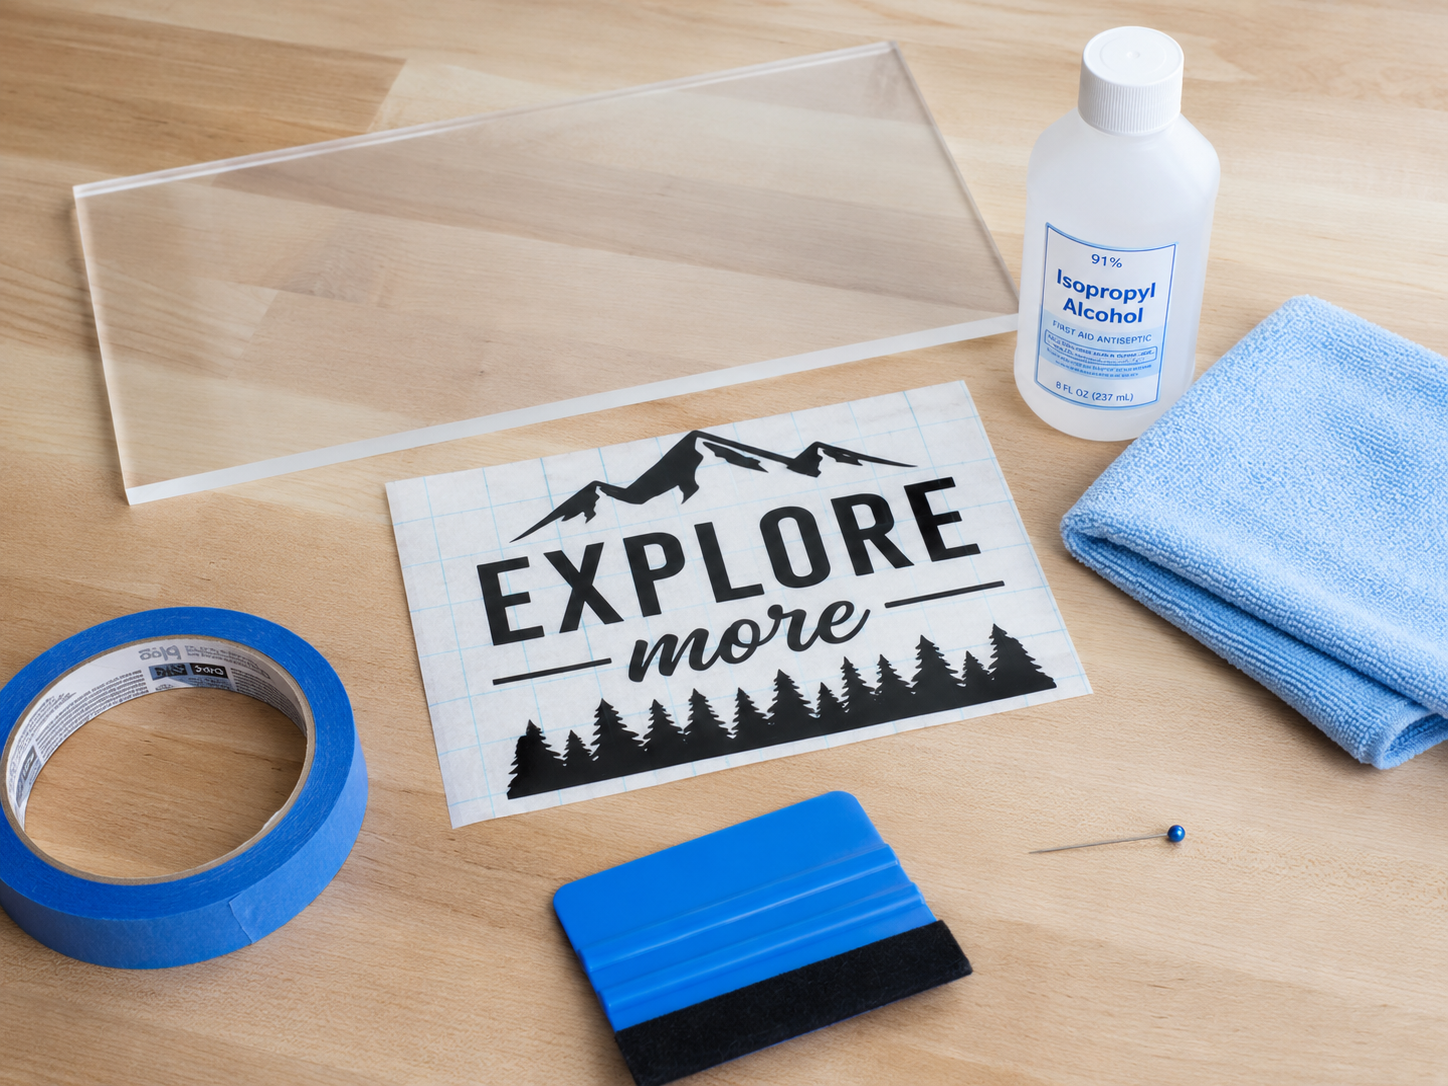
Photo suggestion: Show a clean vinyl decal, squeegee or credit card, masking tape, rubbing alcohol, and a microfiber towel laid out on a table.
What You Need
Before you start, grab a few basic tools:
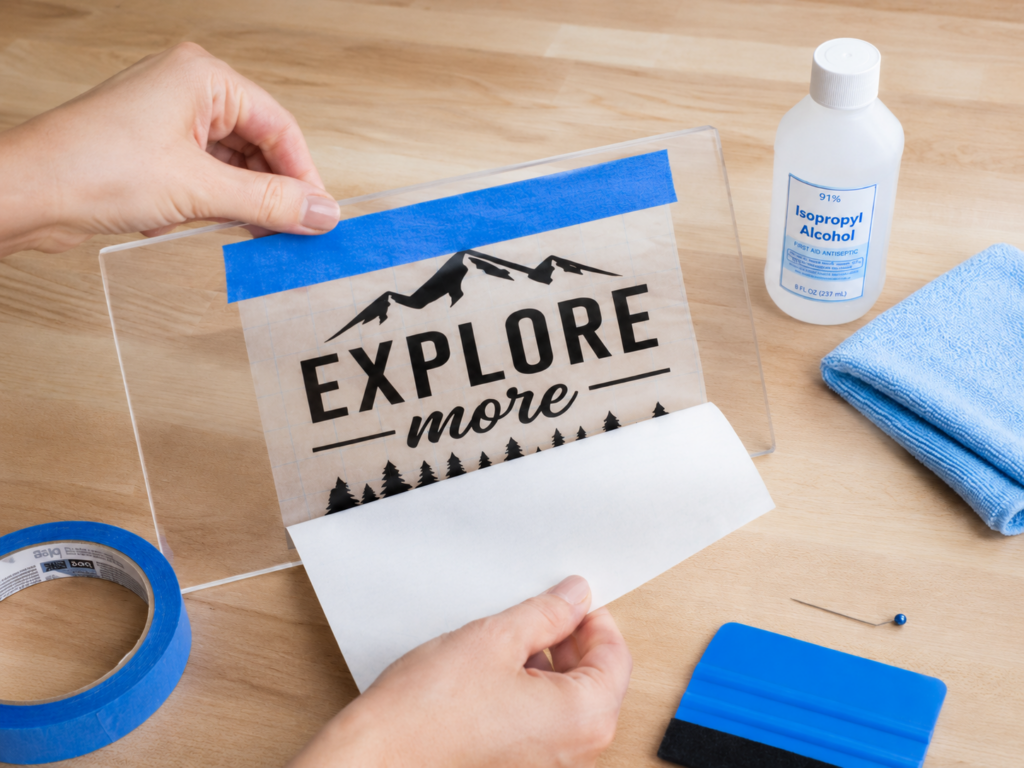
A vinyl decal A clean microfiber towel Rubbing alcohol or surface cleaner Masking tape or painter’s tape A squeegee or credit card A measuring tape if placement matters A pin or fine needle for small bubbles
You do not need anything fancy. The biggest thing is making sure the surface is clean and dry.
Step 1: Clean the Surface
This is the step most people skip, and it is usually why vinyl bubbles or peels later.
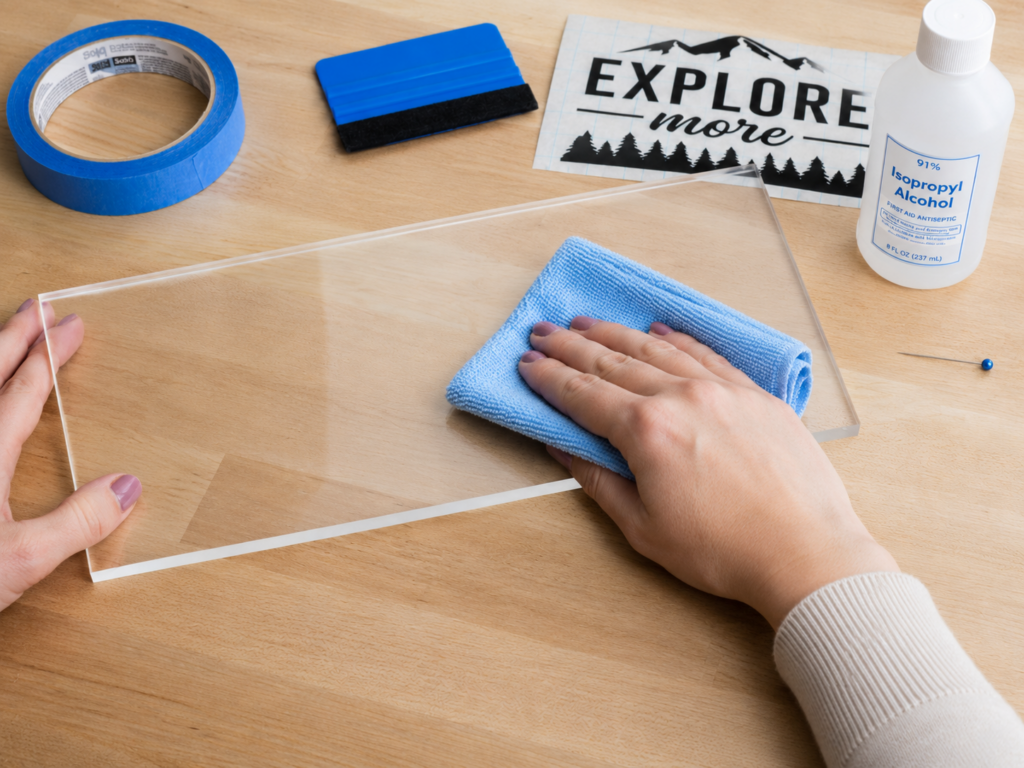
Wipe the area with rubbing alcohol or a cleaner that does not leave an oily residue. Dust, wax, grease, fingerprints, and dirt can all keep the vinyl from sticking flat. After cleaning, dry the area with a microfiber towel.
Do not apply vinyl to a wet, dusty, or freshly painted surface. If paint is new, give it time to fully cure before adding decals.
Photo suggestion: Show someone wiping a window, cup, laptop, car window, or sign surface with a microfiber towel.
Step 2: Position the Decal Before Peeling
Do not peel the backing off yet.
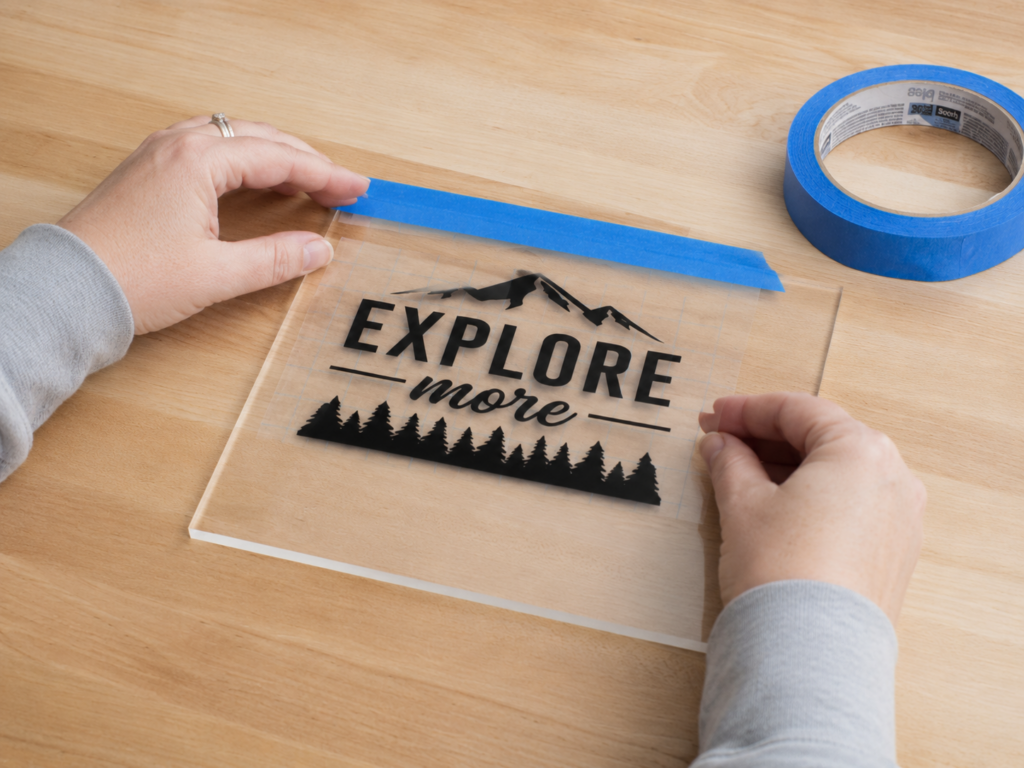
Place the decal on the surface exactly where you want it. Use masking tape to hold it in place. If the decal needs to be centered, measure both sides before installing.
A good trick is to place a strip of masking tape across the top edge of the decal like a hinge. This lets the decal flip up and down while staying lined up.
Photo suggestion: Show the decal taped in place with one strip of painter’s tape across the top.
Step 3: Use the Hinge Method
Once the decal is taped in place, flip it upward like opening a door or notebook. Slowly peel the backing paper away from the vinyl.
Be careful not to let the sticky side touch the surface yet. If the design has small letters or thin details, make sure they stay attached to the transfer tape and do not lift with the backing paper.
If a piece does lift, lay the backing paper back down and rub over that area with your squeegee.
Photo suggestion: Show the backing paper being peeled away while the top tape hinge keeps the decal lined up.
Step 4: Apply Slowly From the Center Out
Now comes the important part.
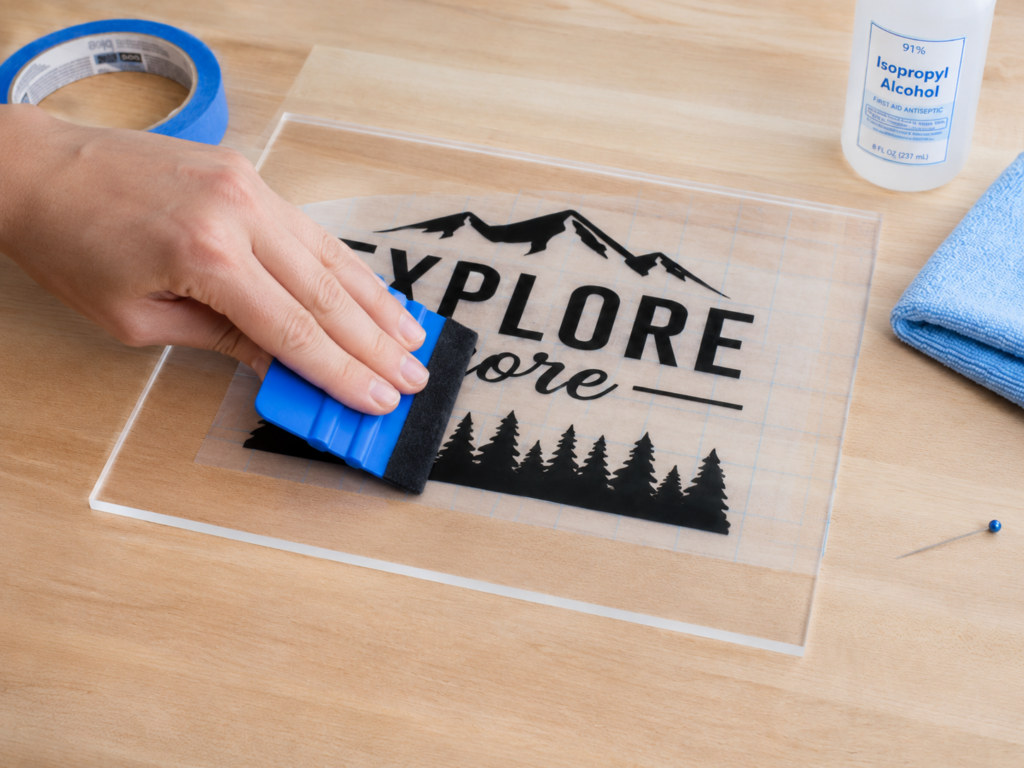
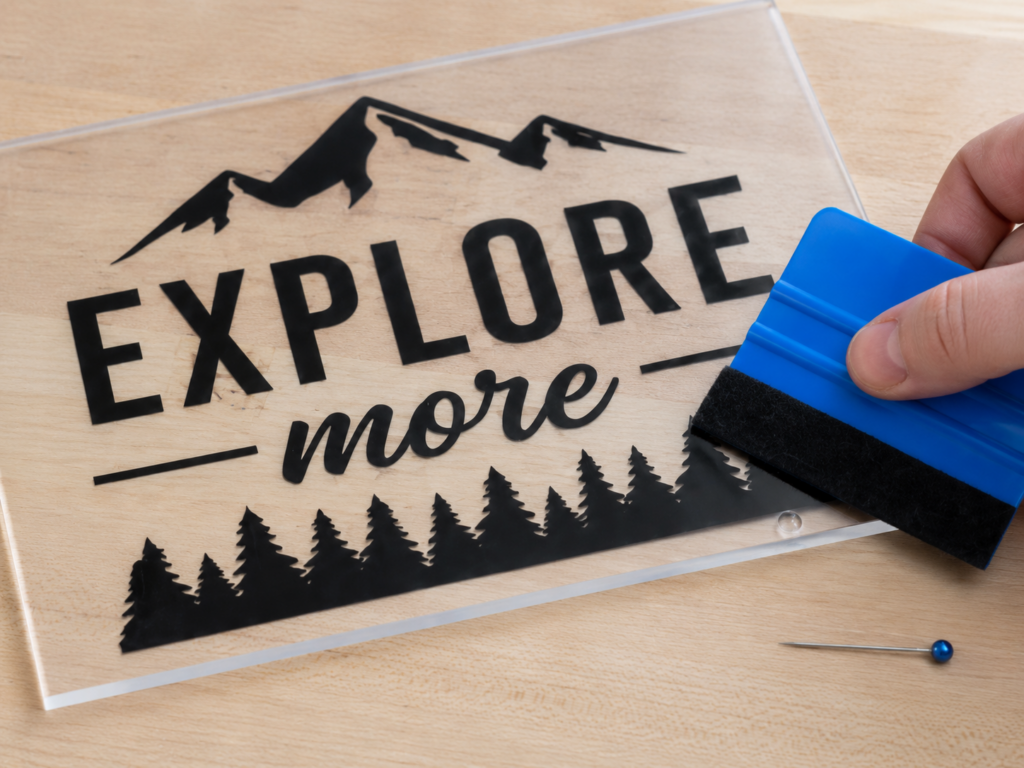
Hold the decal slightly above the surface and begin applying it from the top or center. Use your squeegee or credit card to press the decal down slowly. Work from the center outward, pushing air toward the edges.
Do not slap the whole decal down at once. That is how bubbles get trapped.
Use firm, even pressure. Think of it like smoothing out a screen protector. Slow and steady gives you the cleanest result.
Photo suggestion: Show a hand using a squeegee to press the vinyl down from the center toward the edges.
Step 5: Burnish the Decal
After the decal is on the surface, rub over the entire design with your squeegee. This is called burnishing. It helps the vinyl adhesive bond to the surface.
Pay extra attention to corners, small letters, and thin lines. These are the areas most likely to lift if they are not pressed down well.
Photo suggestion: Close up of a squeegee pressing over the full decal before the transfer tape is removed.
Step 6: Peel Off the Transfer Tape
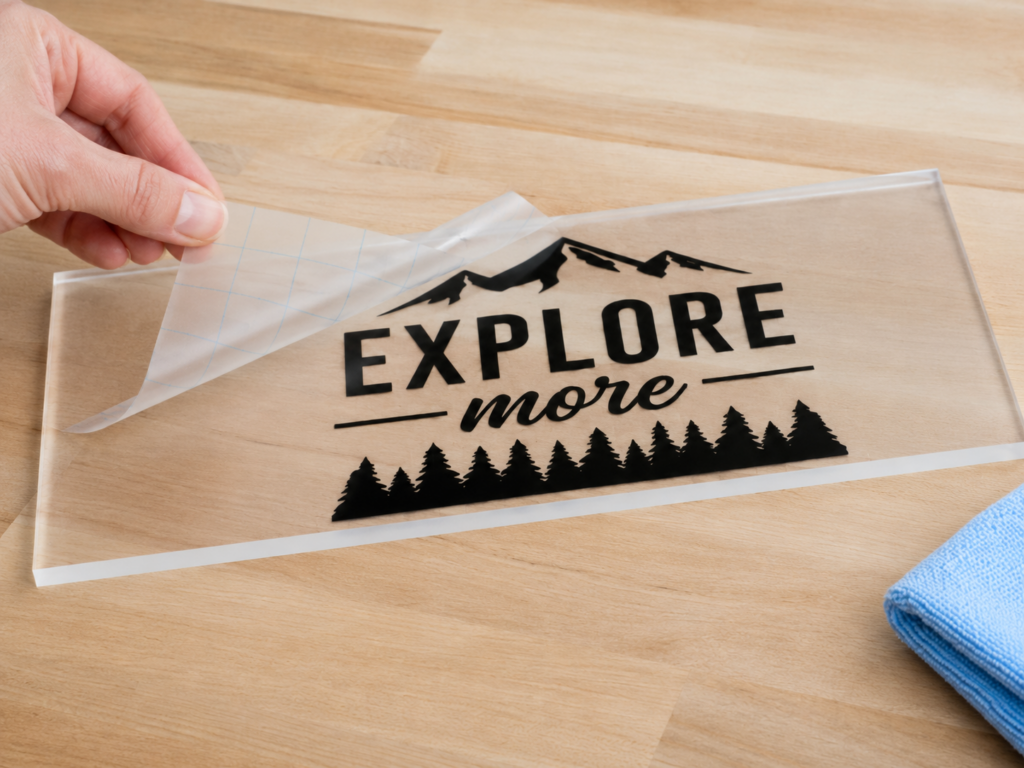
Slowly peel the transfer tape back at a sharp angle. Do not pull straight up. Pull it low and flat against the surface.
If part of the vinyl lifts with the transfer tape, stop. Lay the tape back down and rub that section again with your squeegee. Then continue peeling slowly.
This step should not be rushed. A slow peel gives the vinyl time to stay stuck where it belongs.
Photo suggestion: Show the transfer tape being peeled back low and flat while the decal stays on the surface.
Step 7: Remove Small Bubbles
Even with a careful install, you may see a few tiny bubbles. Do not panic.
Small bubbles often disappear on their own after a day or two, especially on smooth surfaces. If you have a larger bubble, gently push it toward the edge with your finger or squeegee.
If it will not move, use a fine pin to make a tiny hole at the edge of the bubble. Then press the air out slowly. Do not cut the vinyl or poke a large hole. One tiny pin prick is enough.
Photo suggestion: Close up of a small bubble being pushed toward the edge with a finger or squeegee.
Common Mistakes to Avoid
Do not apply vinyl on a dirty surface. Do not rush the install. Do not apply in extreme heat or cold. Do not touch the sticky adhesive with your fingers. Do not peel the transfer tape straight up. Do not install over wax, oil, or heavy texture.
Vinyl likes smooth, clean surfaces. Glass, metal, plastic, sealed wood, laptops, cups, cars, and signs are all common surfaces that work well when cleaned properly.
Final Tip
The easiest way to apply vinyl decals without bubbles is to prep the surface, tape the decal in place, and apply it slowly with pressure from the center outward. Most bubbles happen when air gets trapped under the vinyl, so your goal is to push that air out before the decal fully sticks.
Take your time, use the hinge method, and do not rush the peel. A clean install is not hard. It just takes a little patience.